Loading
There were typically two vertical "stacks", each consisting of 7 or 8 shelves stacked in a combination of alignments. These shelves measured 13" X 18" and 18" X 18". The larger shelves rested on the top of the bag wall at one end. Platters and other low profile pieces were placed directly on the kiln floor under the first set of shelves to take advantage of that space. Two sets of pyrometric cone packs were used in each firing (top front and bottom rear) in addition to two thermocouple probes linked to a pyrometer. Here are images from one of the firings.
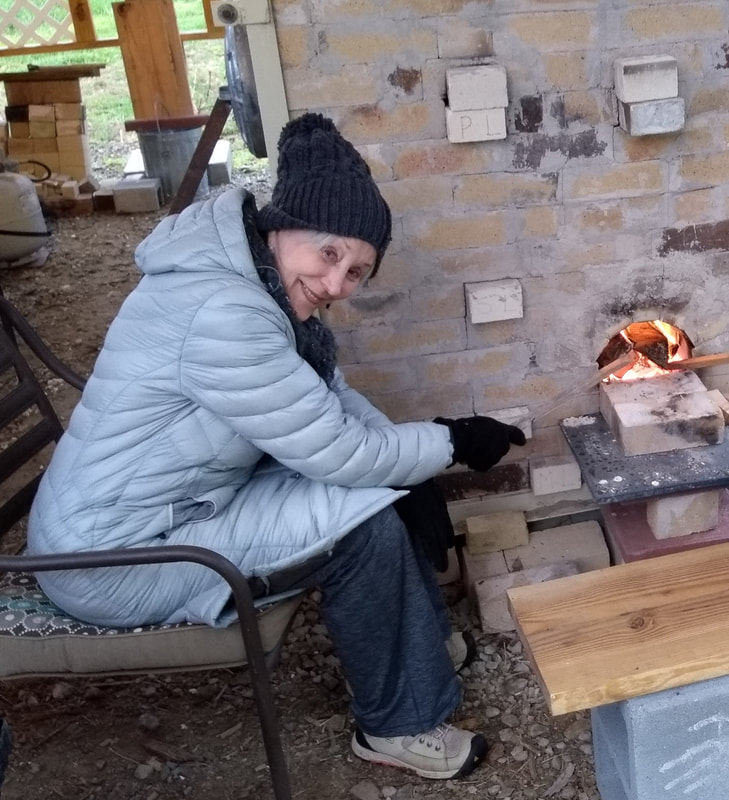
Firing
I typically began the first day by stoking a fire in the firebox for about 8 hours to preheat the kiln interior and provide an initial layer of fly ash on the surfaces of the pots. The firebox was then loaded up with several large chunks of wood and the air supply significantly cut back for the night.
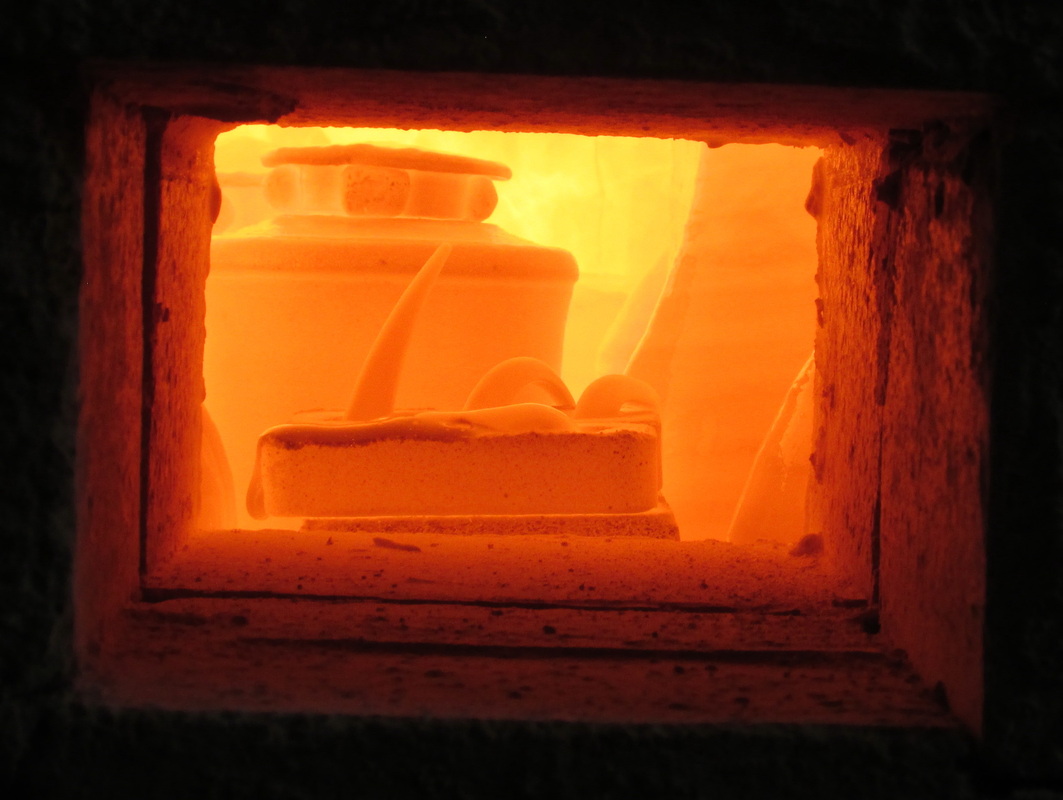
The following morning around 5AM the ember bed was stoked, another candling fire started outside the hearth and the all-day firing began in earnest. The kiln was stoked through the hearth and secondary supply air openings in the front of the firebox using short pieces of wood until the temperature reached about 1,000 deg F, typically before noon. At that time, the transition to stoking through the side ports above the arches (hobs) began and continued until the end of the firing. On my first two West Virginia wood kilns, a mixture of salt and baking soda was added to the ware chamber once Cone 9 (2300 degrees F) dropped.
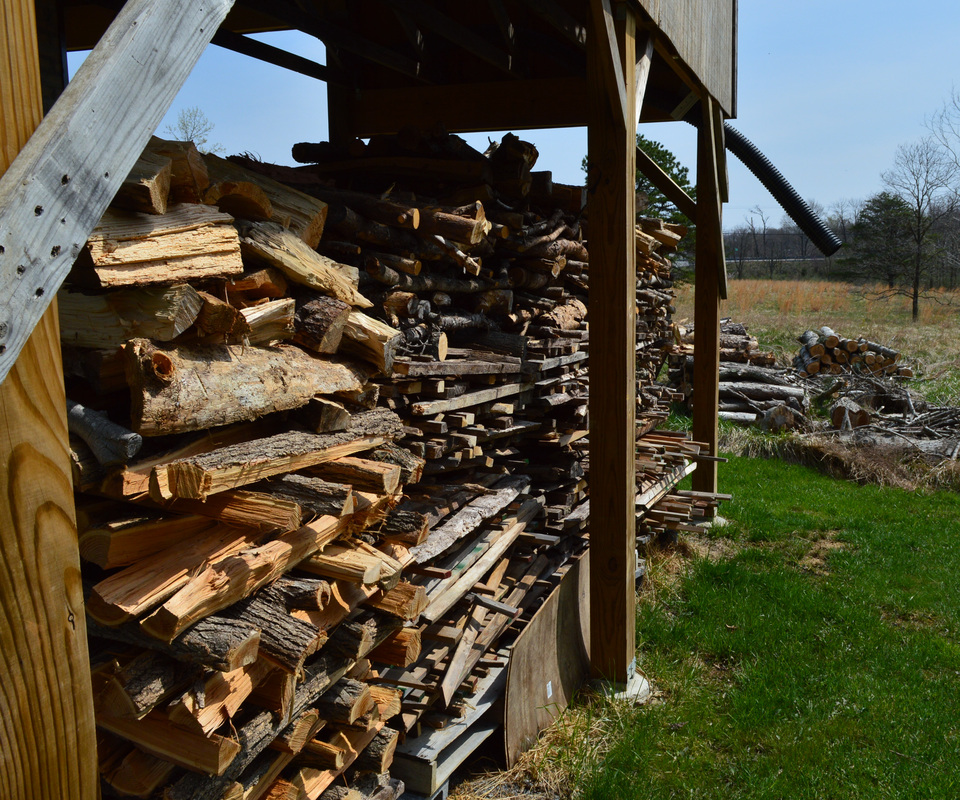
Cone 10 typically dropped initially at the top front and at the lower rear of the ware chamber an hour or so later. A period of "soaking" the wares then occurred. The firings on the "Foighidinn" kiln (my first) lasted about 42-44 hours. On the "Cothrom Eile" kiln (my second) they lasted about 32-34 hours. The firings on the "Buidheachas" kiln lasted 12 to 19 hours, excluding the day one preheat. The fuel was typically a mixture of whatever wood is available and has included pine, locust, oak, ash, box elder, Osage orange, etc.
Here is a link to a video which captures a portion of the second firing in December 2018. It was created by Eli Melet - https://www.youtube.com/watch?v=_SOk335ATTs&feature=youtu.be
The following morning around 5AM the ember bed was stoked, another candling fire started outside the hearth and the all-day firing began in earnest. The kiln was stoked through the hearth and secondary supply air openings in the front of the firebox using short pieces of wood until the temperature reached about 1,000 deg F, typically before noon. At that time, the transition to stoking through the side ports above the arches (hobs) began and continued until the end of the firing. On my first two West Virginia wood kilns, a mixture of salt and baking soda was added to the ware chamber once Cone 9 (2300 degrees F) dropped.
Cone 10 typically dropped initially at the top front and at the lower rear of the ware chamber an hour or so later. A period of "soaking" the wares then occurred. The firings on the "Foighidinn" kiln (my first) lasted about 42-44 hours. On the "Cothrom Eile" kiln (my second) they lasted about 32-34 hours. The firings on the "Buidheachas" kiln lasted 12 to 19 hours, excluding the day one preheat. The fuel was typically a mixture of whatever wood is available and has included pine, locust, oak, ash, box elder, Osage orange, etc.
Here is a link to a video which captures a portion of the second firing in December 2018. It was created by Eli Melet - https://www.youtube.com/watch?v=_SOk335ATTs&feature=youtu.be
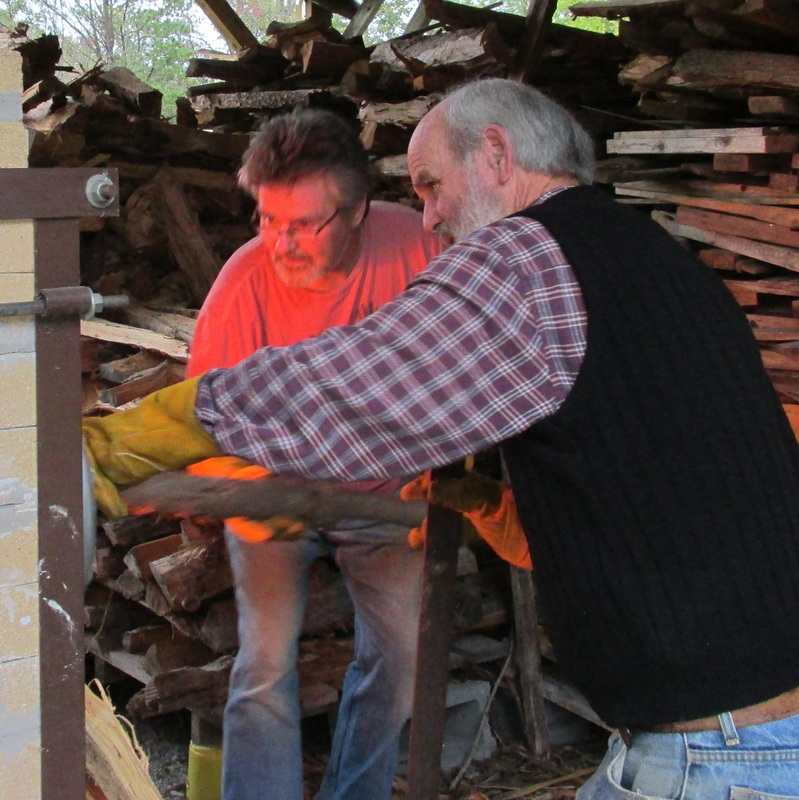
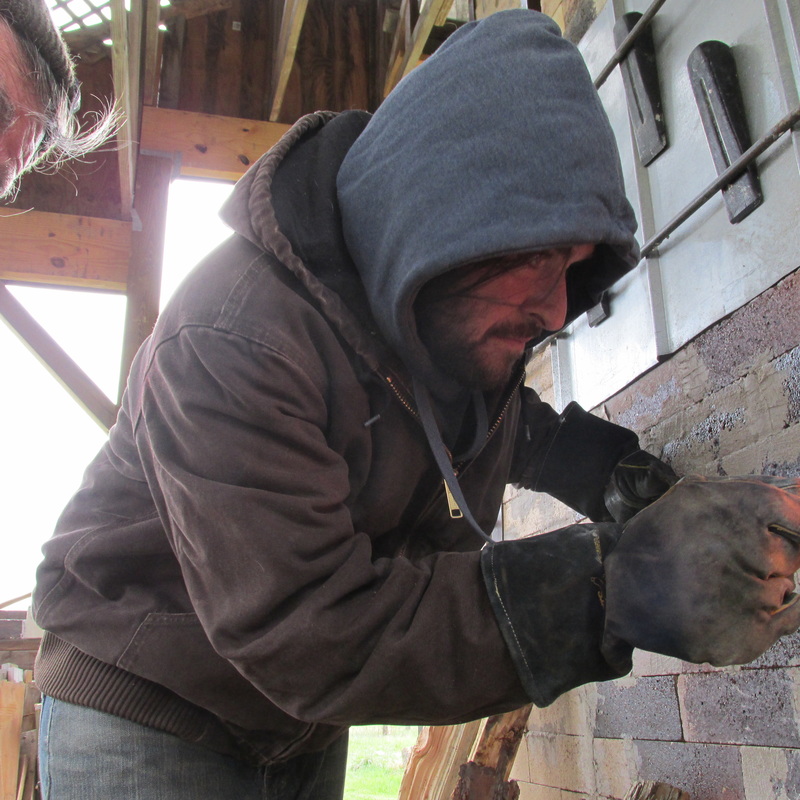
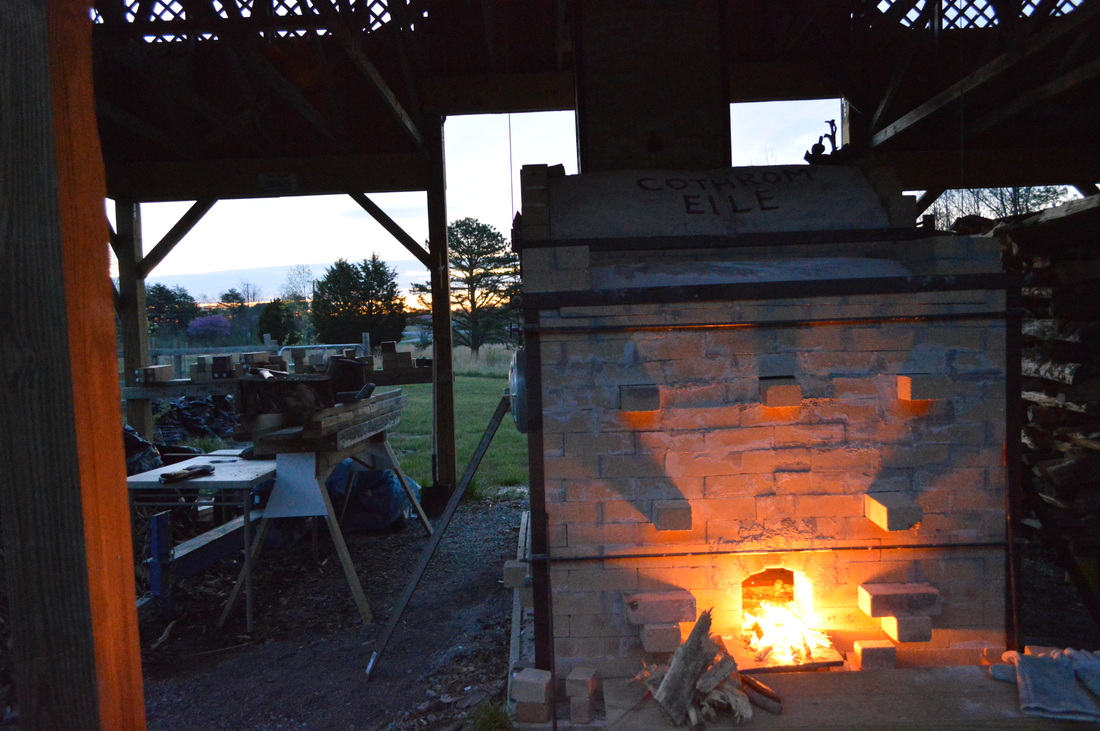
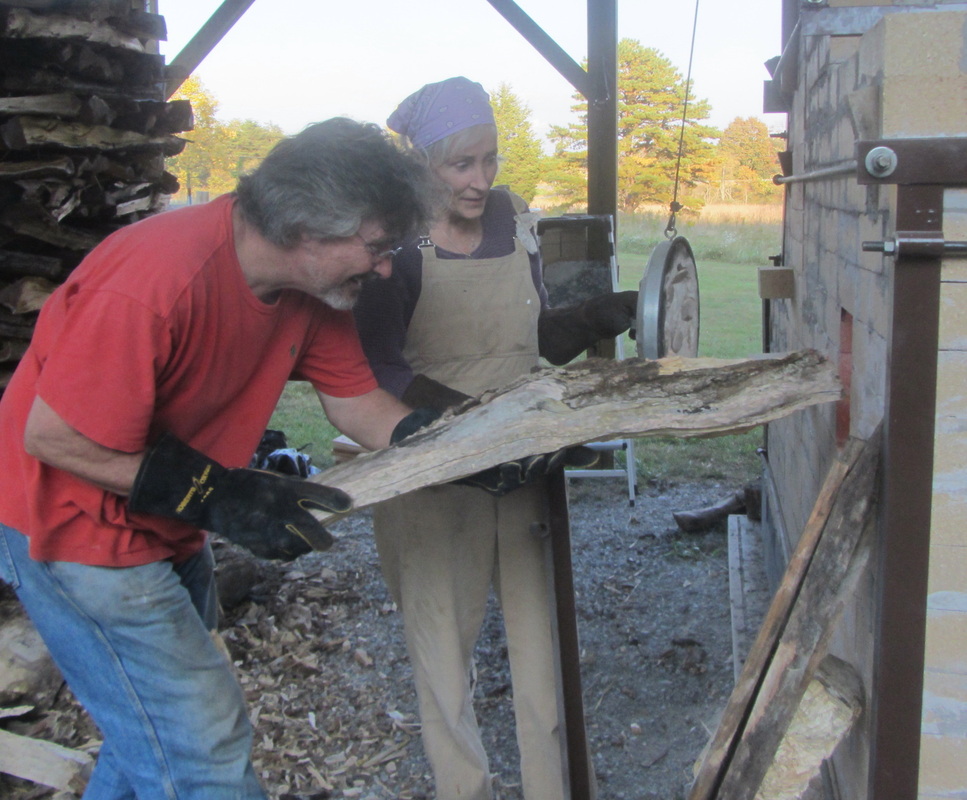
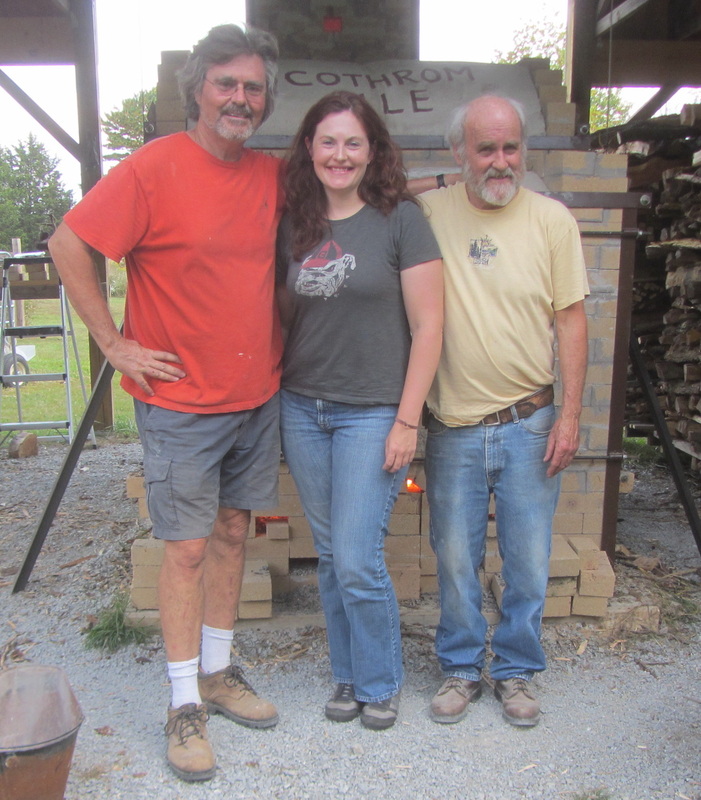
A combination of images of past firings of my three wood kilns are shown below...

Firing Template for Hillsborough Wood Kiln
As an aid during firings, I prepared the worksheet shown in the file below. I used it to establish the target temperature rise, damper settings, air supply, etc. as the firing progressed. It was not "locked in stone". As the firing progressed, I made adjustments as needed. I equate it to those "cheat sheets" American football coaches use on the sidelines during games to determine the best play to call for particular down and yardage situations. I also used it as a kiln log, making notations in the margins and between the lines. After each firing I made adjustments to the worksheet template for use on the following firing. Here is an example:
| hillsborough_wood_kiln_template_for_12th_firing_-_apr_2023.pdf |
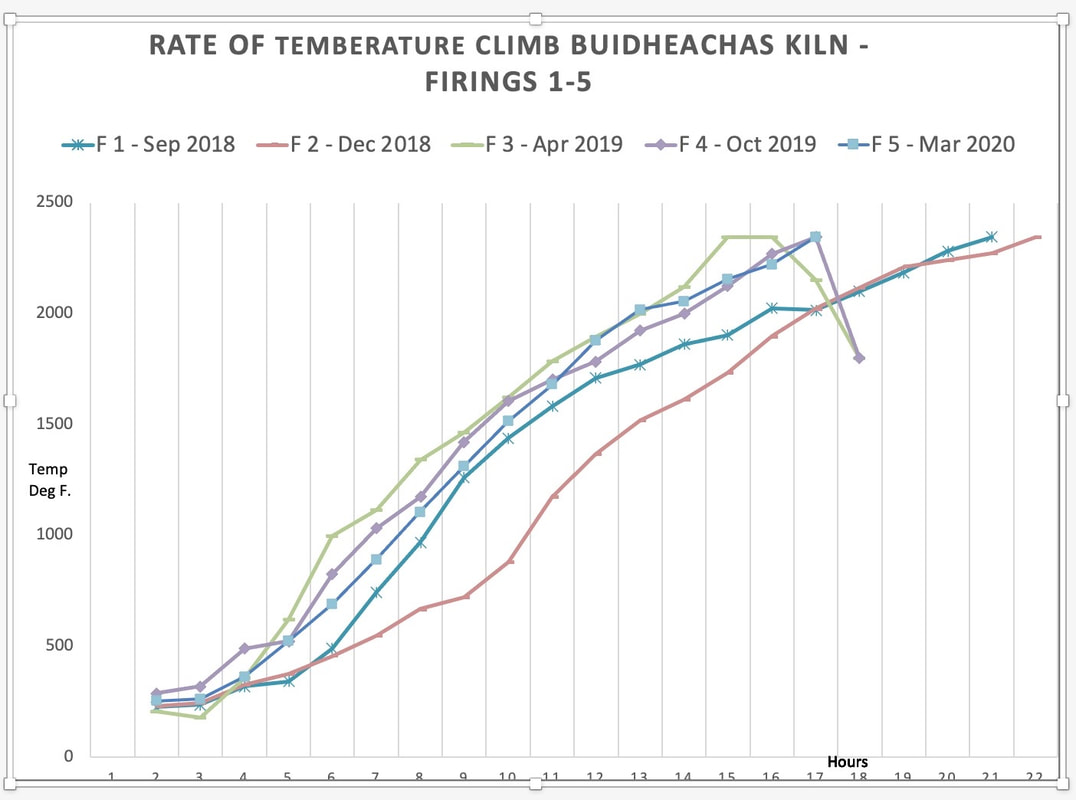
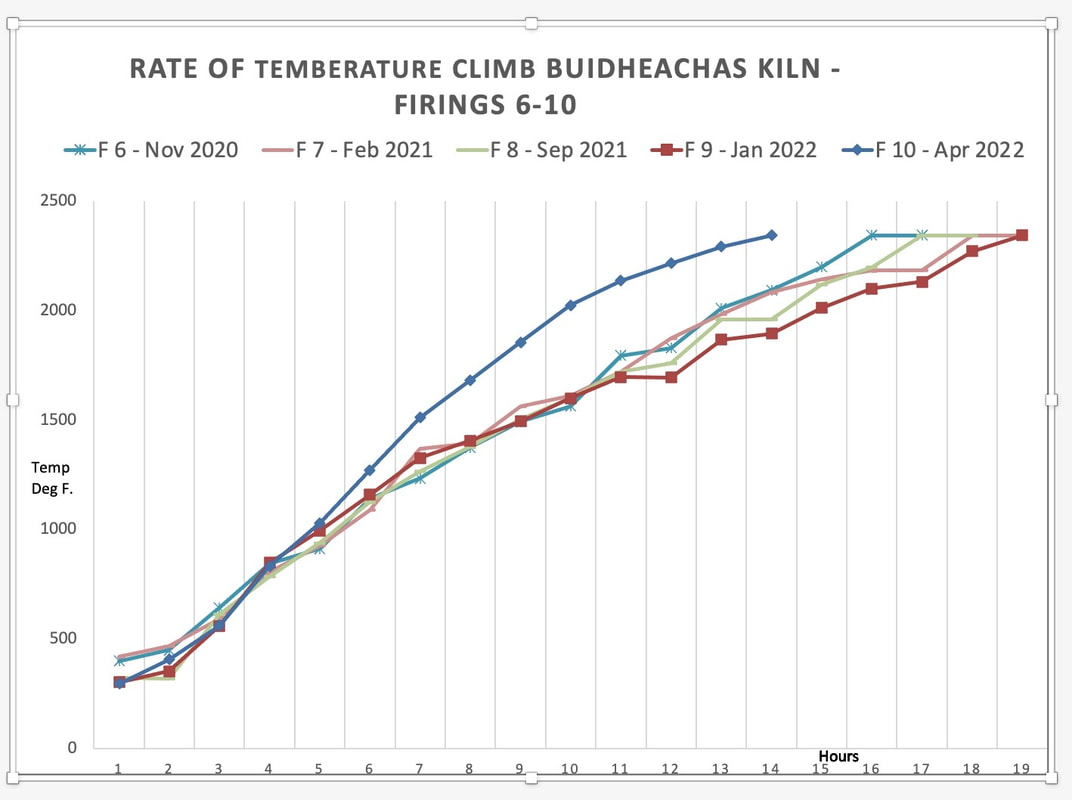
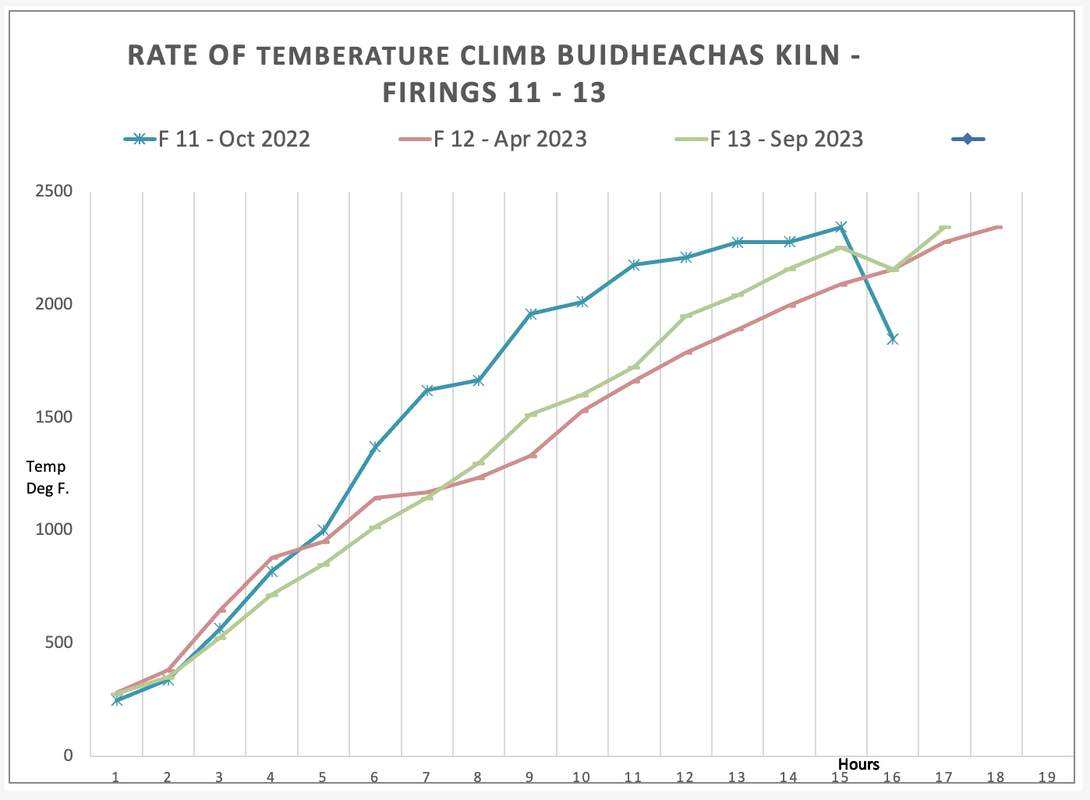
Graphic Depiction of Temperature Rise on "Buidheachas" Wood Kiln
The following graph depicts the hourly temperature rise for each of the thirteen firings of the "Buidheachas" wood kiln. The target temperature on each firing was 2345 deg F. You can see on the graph that the procedure at the end of the 3rd, 4th and 11th firings was changed in terms of cooling (crash and reduction cooling). On the 10th firing I made an adjustment to the air supply at the primary air ports that resulted in a much faster temperature rise and early completion to the firing. A storm front moving through our area with significantly low barometric pressure and high winds resulted in the 12th firing taking longer than anticipated.
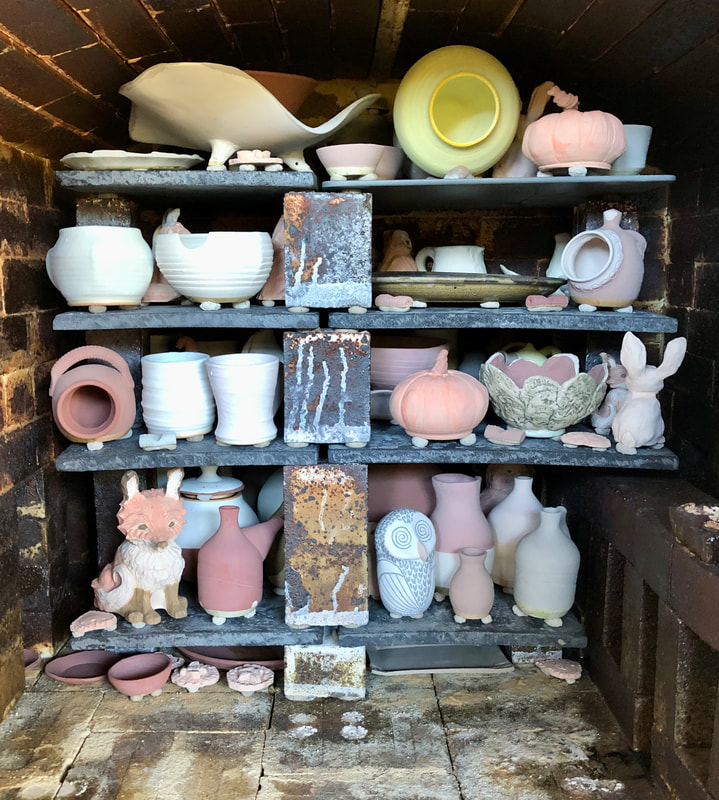
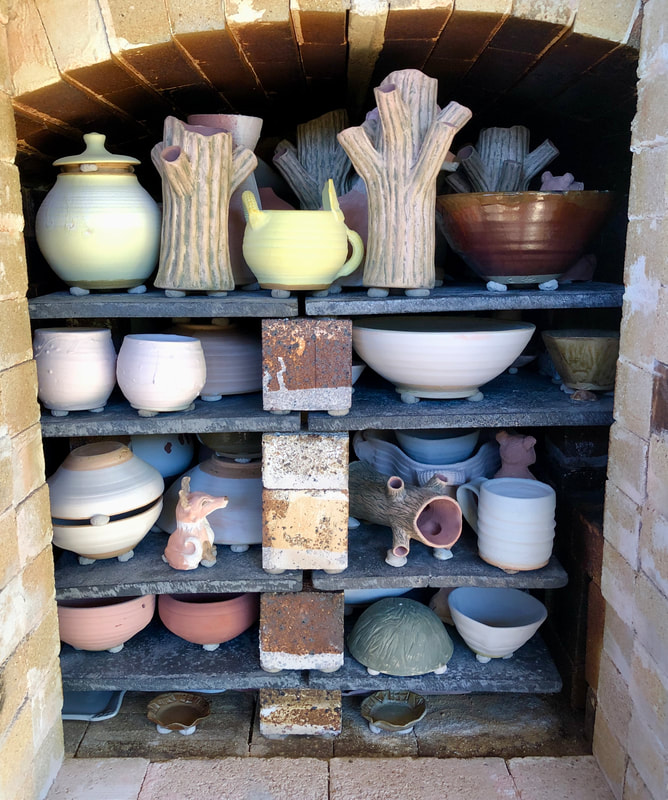
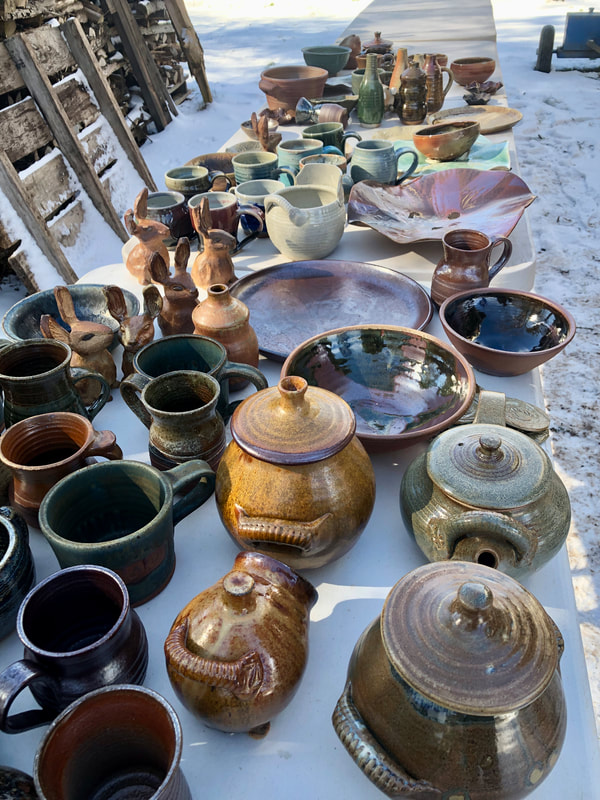
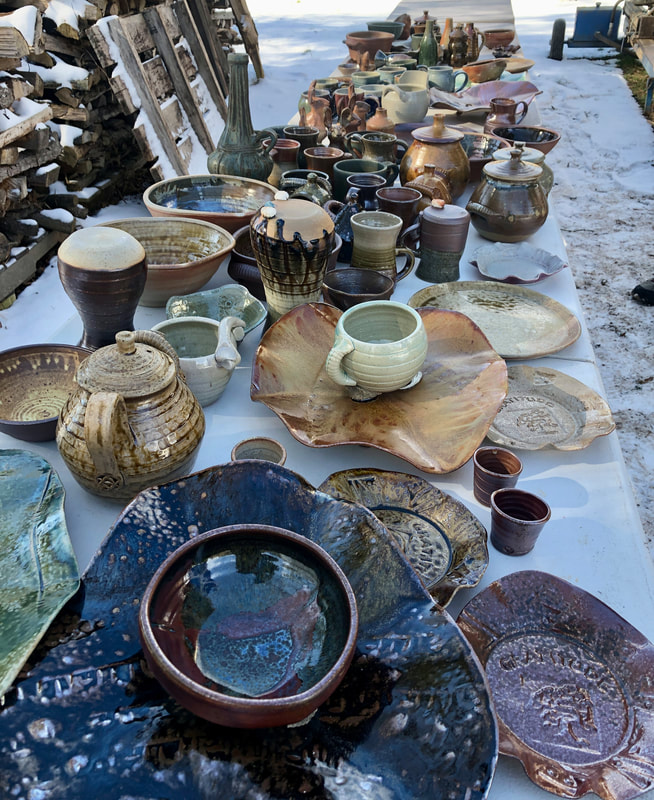
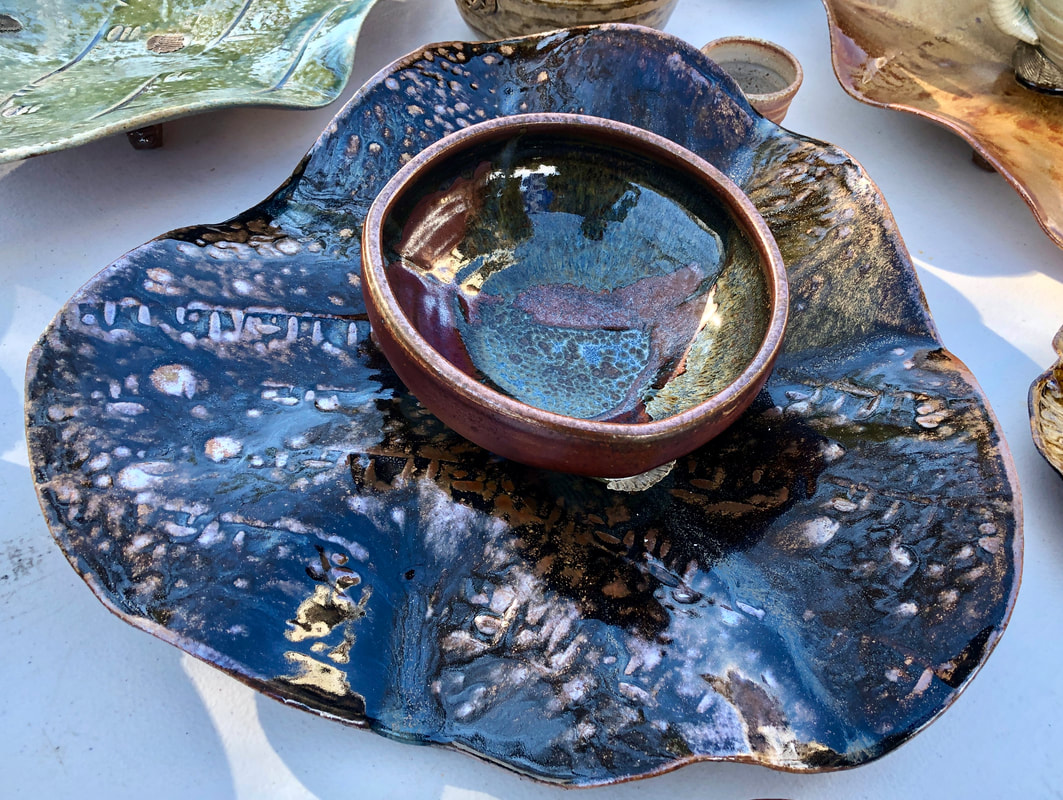
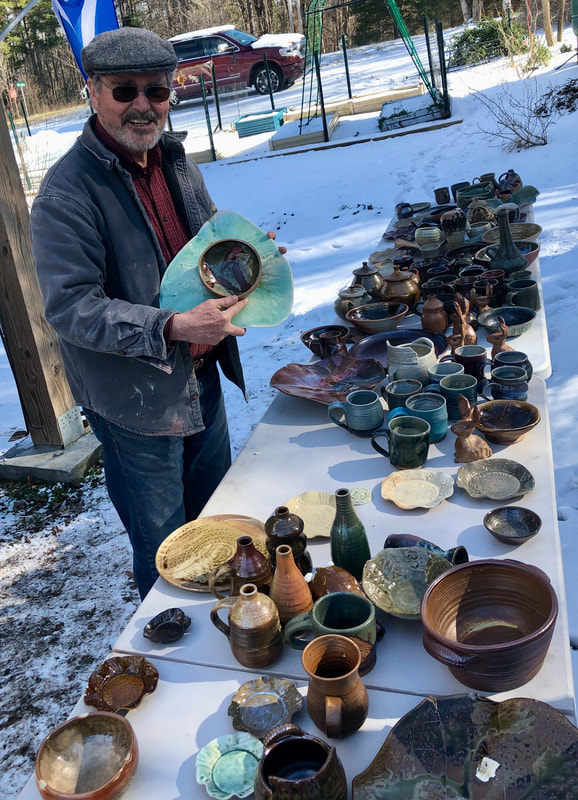
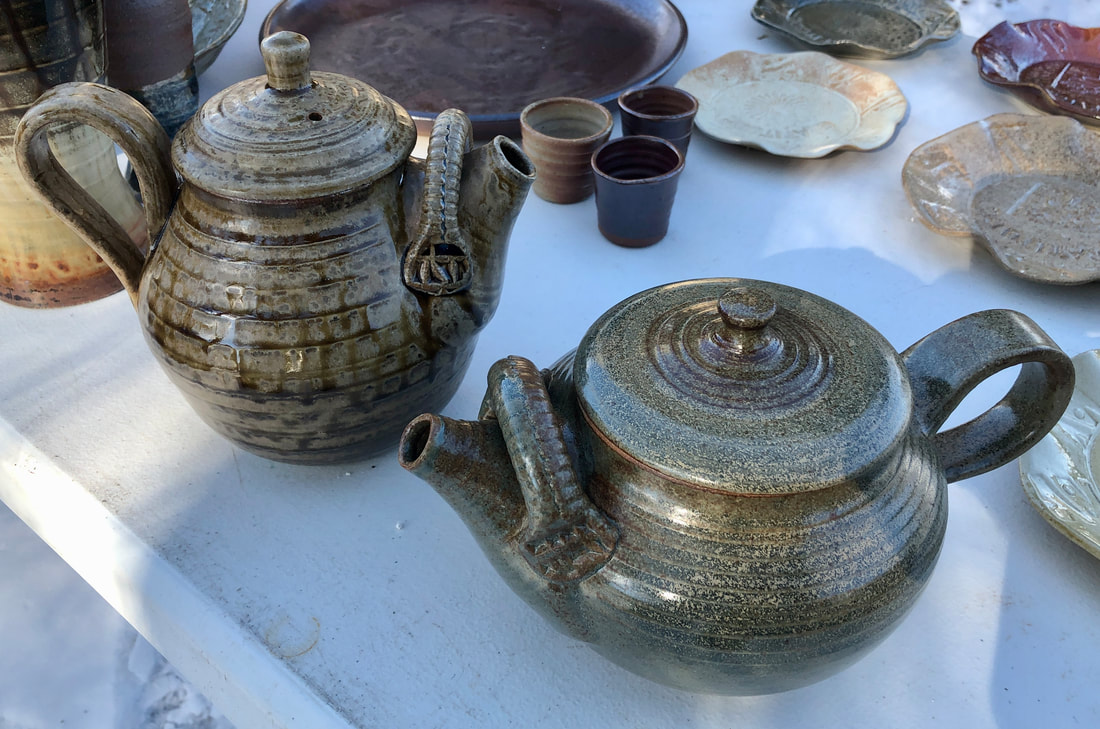
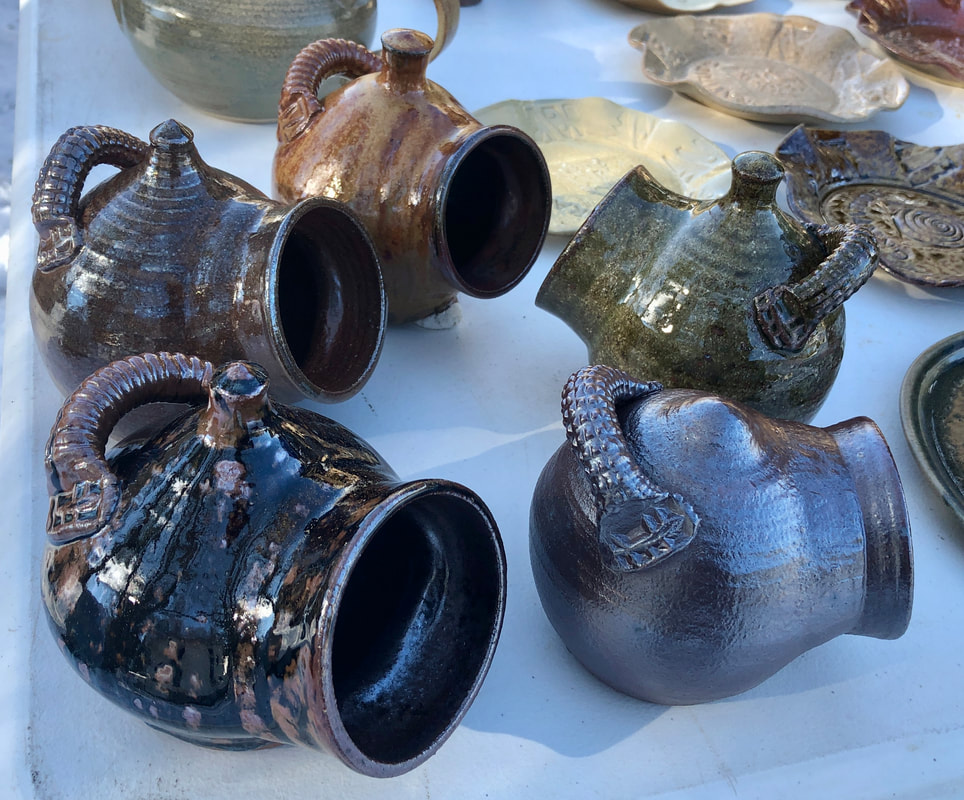
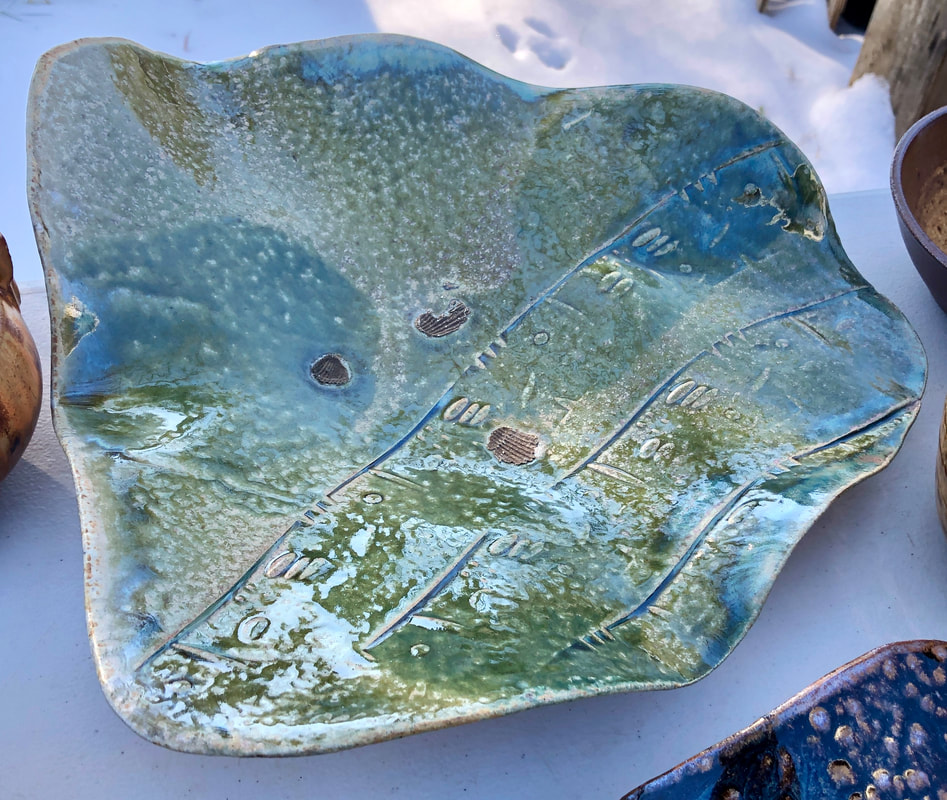
Unloading
Images from unloading a firing. The wadding still needed to be removed from some of the pieces. Evaluation of results are conducted, notations made and adjustments to the firing template made for future firings.

Between Firings
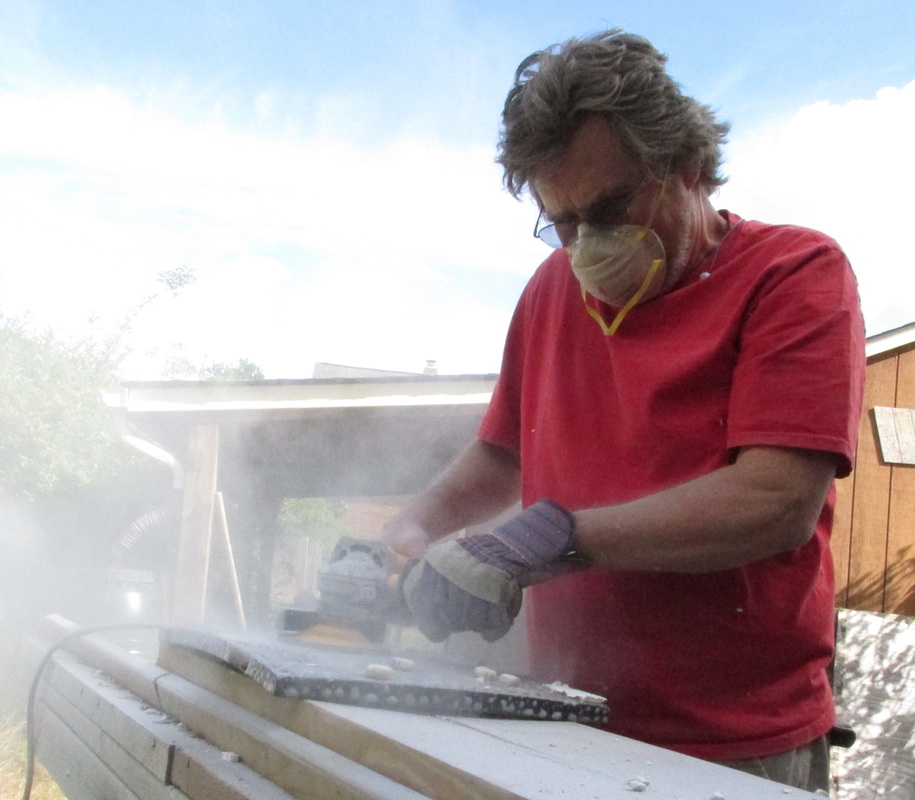
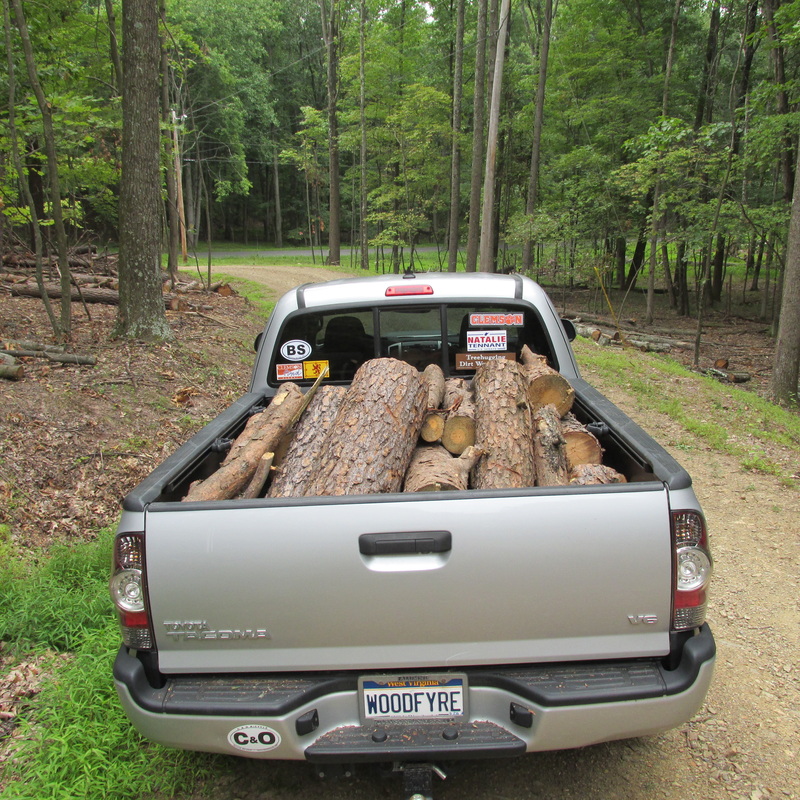
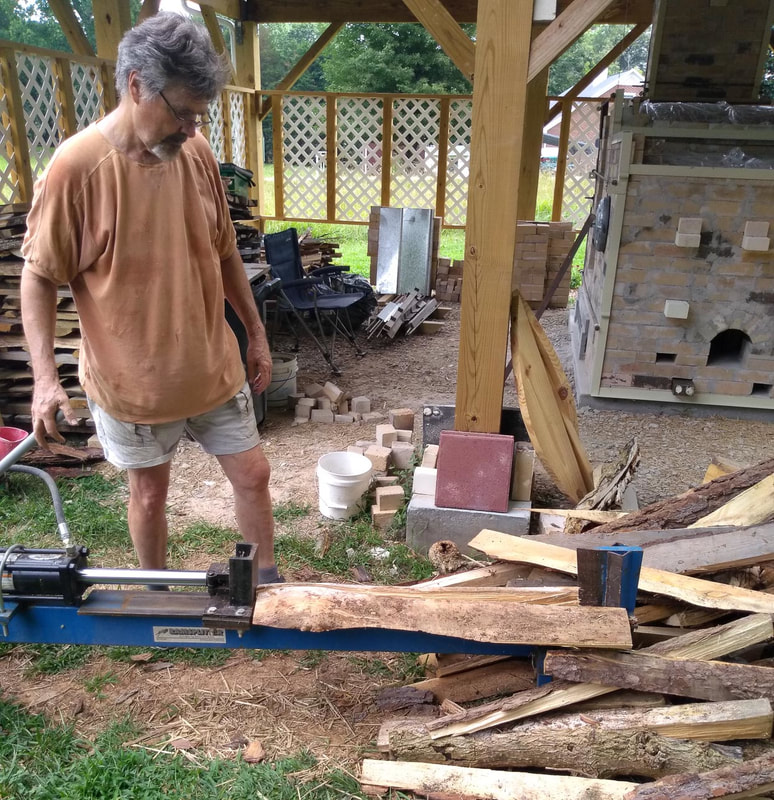
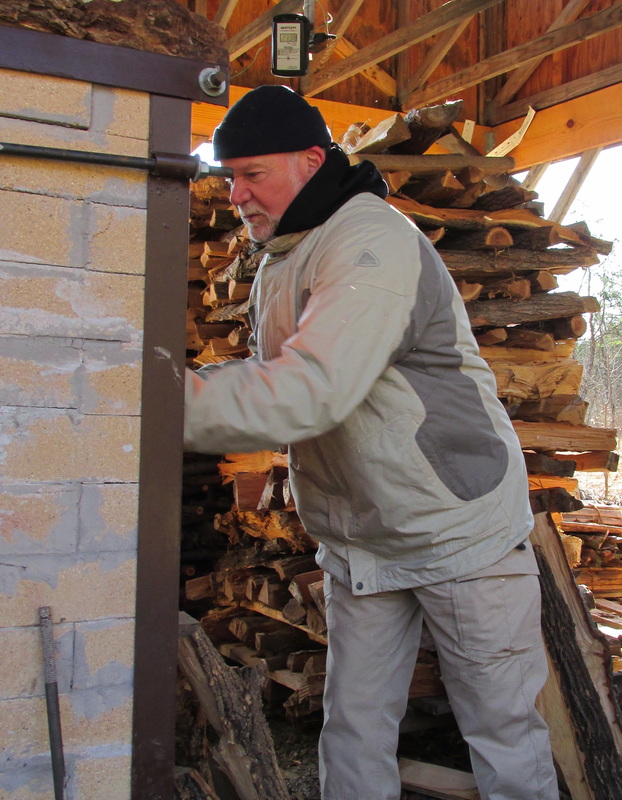
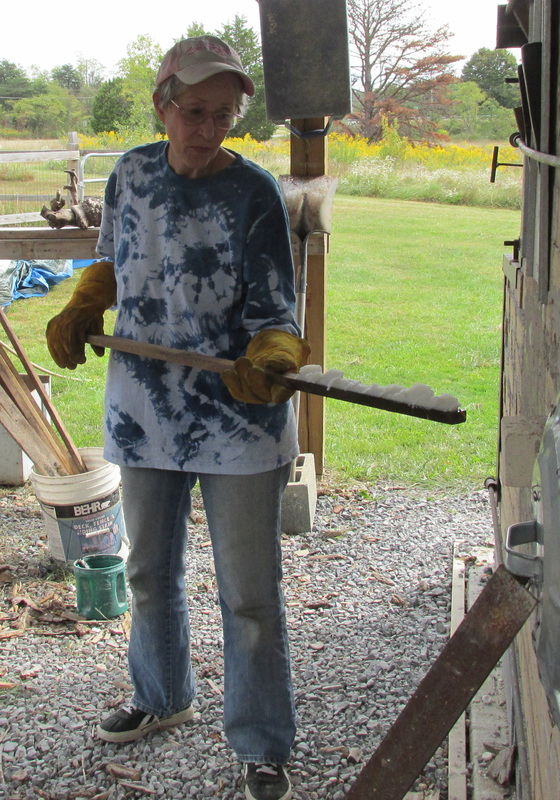
Among the many chores associated with wood firing were cleaning the kiln shelves of wadding and ash residue using a cup grinder, gathering and splitting wood, removing ash from the firebox, making kiln repairs and modifications, etc...